Have so many Broadway shows captured your heart that you can’t pick just one to display? We’re continuing our celebration of National Craft Month with a way to create a fun piece of art by combining your favorite Playhouse Square programs into one unique piece!
NOTE: If you don’t want to cut your cherished programs into pieces or simply don’t have any handy, you can print program covers from our Broadway show archive HERE
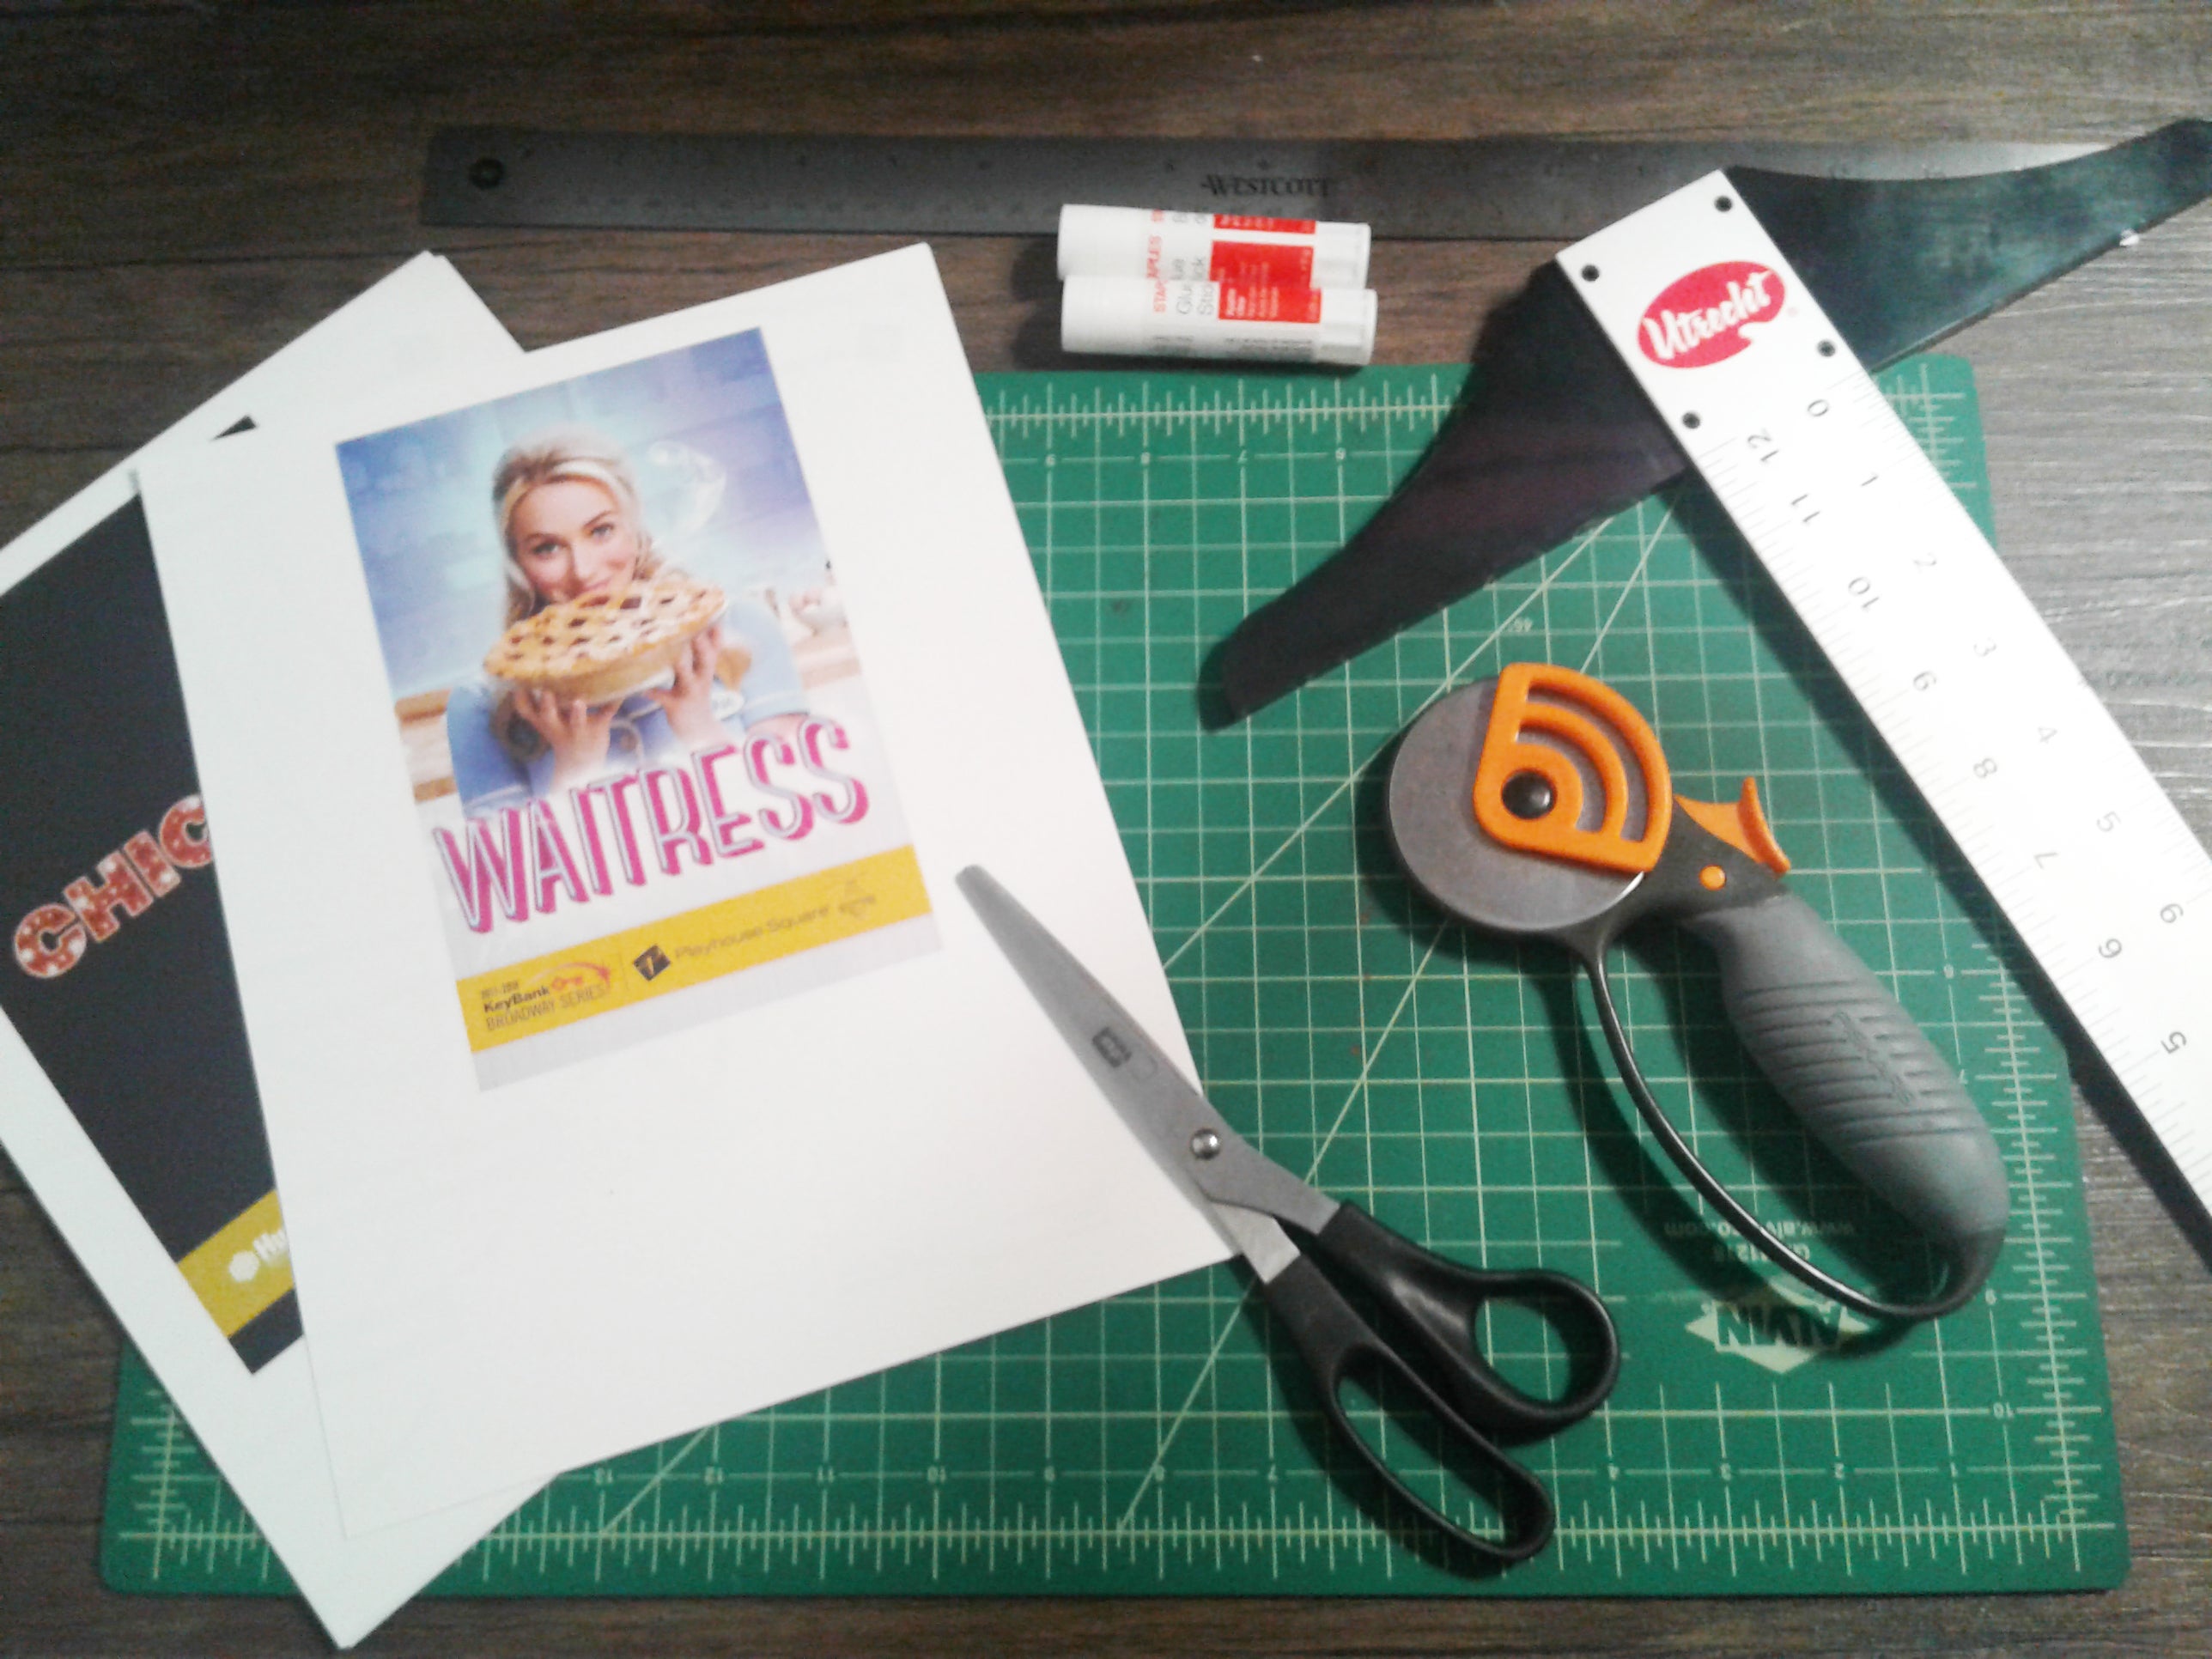
Supplies
- At least five program covers or printouts
- Any tool for cutting (Scissors, Exact-o knife, etc.)
- 12” ruler
- Glue stick
- 5”x7” piece of cardboard
- 5”x7” picture frame (optional)
Directions
- Use a straightedge to carefully cut your program covers or printouts into 1” vertical strips.
- Map out how you’d like the strips to appear on your cardboard backing.
- Glue your strips to the cardboard starting with the middle strip, working your way outward to keep your artwork centered on the backing.
- Place in a 5”x7” frame and enjoy your unique piece of art!


Tips
- Plan out in advance what you’d like your piece to look like, taking note of color schemes as well as the consistencies and inconsistencies in the Playhouse Square artwork that appears at the bottom of each program cover.
- If printing your pieces, we recommend scaling them down in your print options. The programs shown in the sample were all scaled down to 70%. However, different seasons have different sizes, so it may take a bit of trial and error if you’re looking to mix and match.
- Even sized down to 70%, the strips required a small bit of trimming to fit on the 5”x7” cardboard, so don’t fret if it doesn’t fit perfectly.
Variations
Feeling adventurous? There are tons of variations to this concept you could employ to create something truly unique.
- Instead of five different shows, you could try it with just two, alternating each program strip.
- Using a larger canvas, you could try “floating” the program strips by mounting each strip individually to its own piece of cardboard, leaving a ¼” of space between them and adhering the strips to a background such as a colorful piece of construction paper.
- Instead of framing you could add magnetic adhesive strips to the back and make a program refrigerator magnet.
-----
We’d love to see the pieces you come up with. Tag @playhousesquare to show off your artwork!
Want more crafts? Check out last week’s entry where we created “Snow Dough” from Disney’s Frozen using household items.